






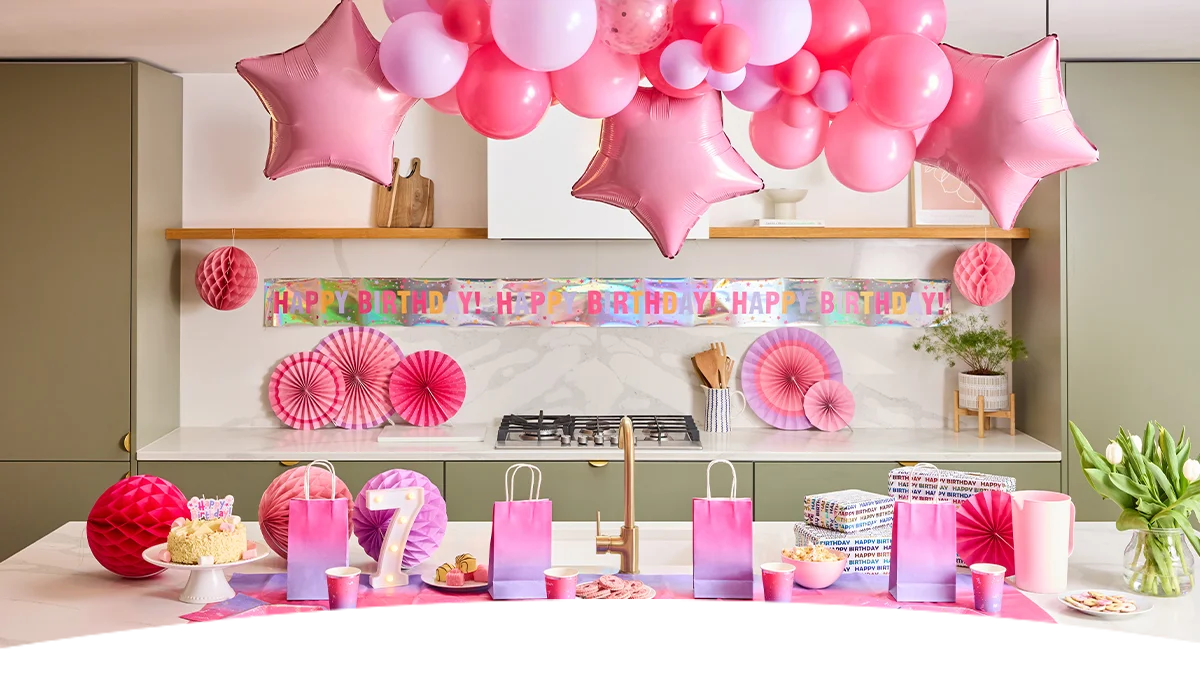
How to build a balloon arch: a beginner’s guide to picture-perfect party decor
Planning a birthday party, baby shower, or milestone celebration? A balloon arch makes a stunning centerpiece that instantly sets a party mood and gives your guests a fantastic backdrop for photos.
If you’ve never built one before, the task might seem a little tricky, but creating your own balloon display at home is actually quite simple! You don’t need any specialist skills or expensive tools to make a professional-looking display. With a few budget-friendly supplies and a bit of time, you can create something memorable that fits your theme.
Explore our full range of balloon displays to discover colourful kits and inspiration to start your project.
What equipment do you need for a DIY balloon arch?
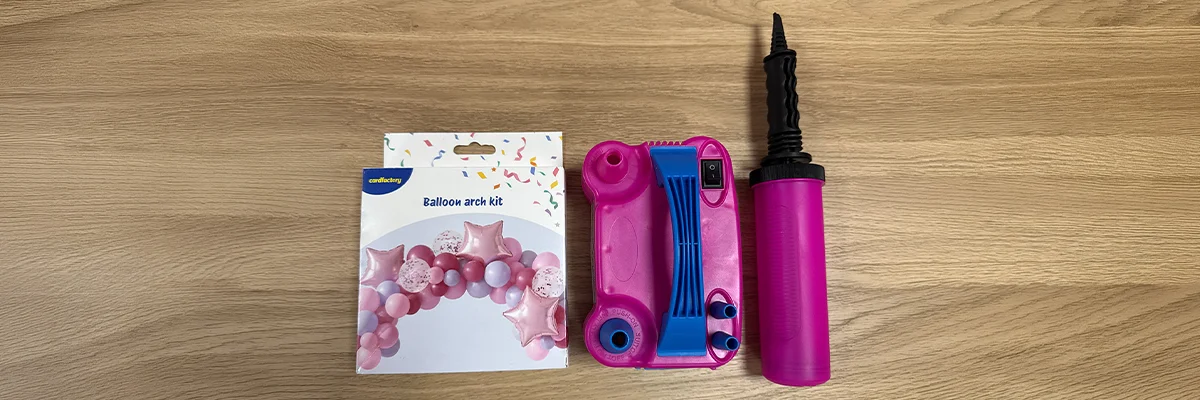
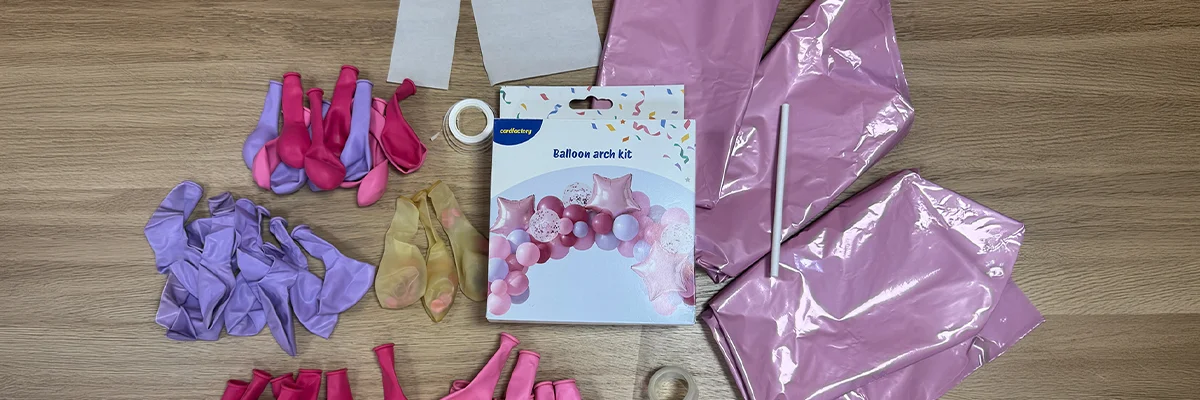
Having the right tools ready on your table makes constructing an arch smooth and enjoyable. You can find most of these essential items around the house or in our party store:
| Equipment | What It Does | Pro Tip |
| Latex Balloons | Forms the main body and shape of your arch. | Pick two to three matching colours in mixed sizes (5-inch, 10-inch, and 12-inch). |
| Balloon Pump | Saves your lungs and speeds up inflation. | An electric pump works fastest, but a hand pump gives great control for smaller balloons. |
| Decorating Tape | A flexible plastic strip with small holes to hold balloon knots. | Cut the tape to your desired arch length before you start attaching balloons. |
| Glue Dots | Secures tiny filler balloons into gaps. | Use glue dots on latex surfaces only rather than wallpaper or painted walls. |
| Command Hooks & String | Anchors the finished arch securely to your wall or frame. | Place hooks on clean, dry surfaces at least an hour before hanging your display. |
Do you need helium for a balloon arch?
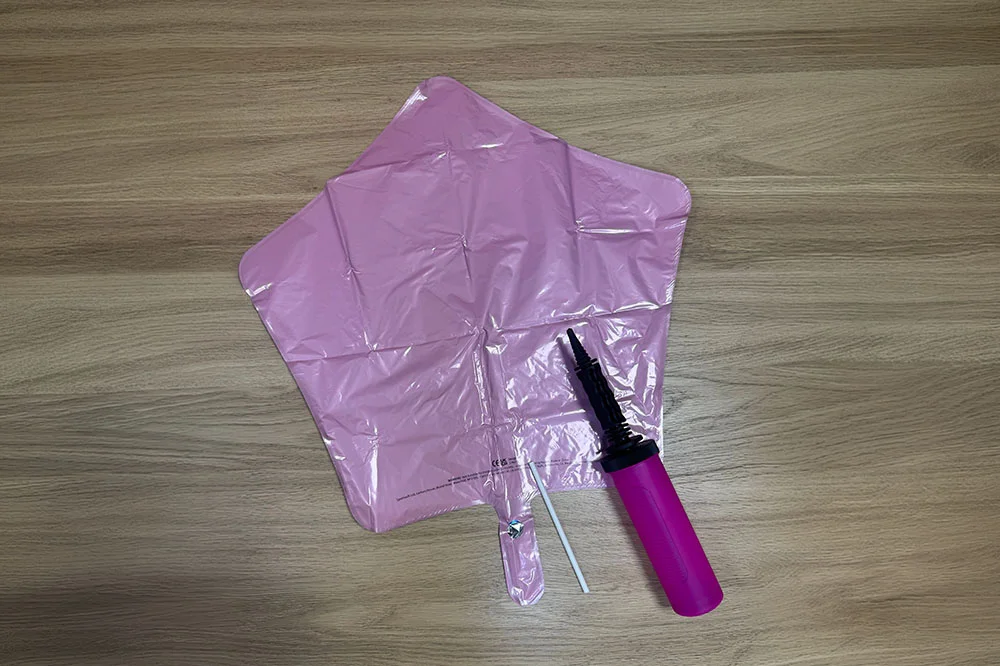

A common question for beginners is whether you need helium to build an arch. Standard air is actually a great choice for arch builds. Air-filled balloons hold their shape for days, cost significantly less, and will stay firmly attached to your decorating tape.
Helium remains a fantastic choice if you want floating balloon clusters, ceiling displays, or individual foil shapes to place beside your main arch, but for the arch structure itself, regular air works best.
Browse our high-quality latex balloons and practical balloon accessories to gather your materials.
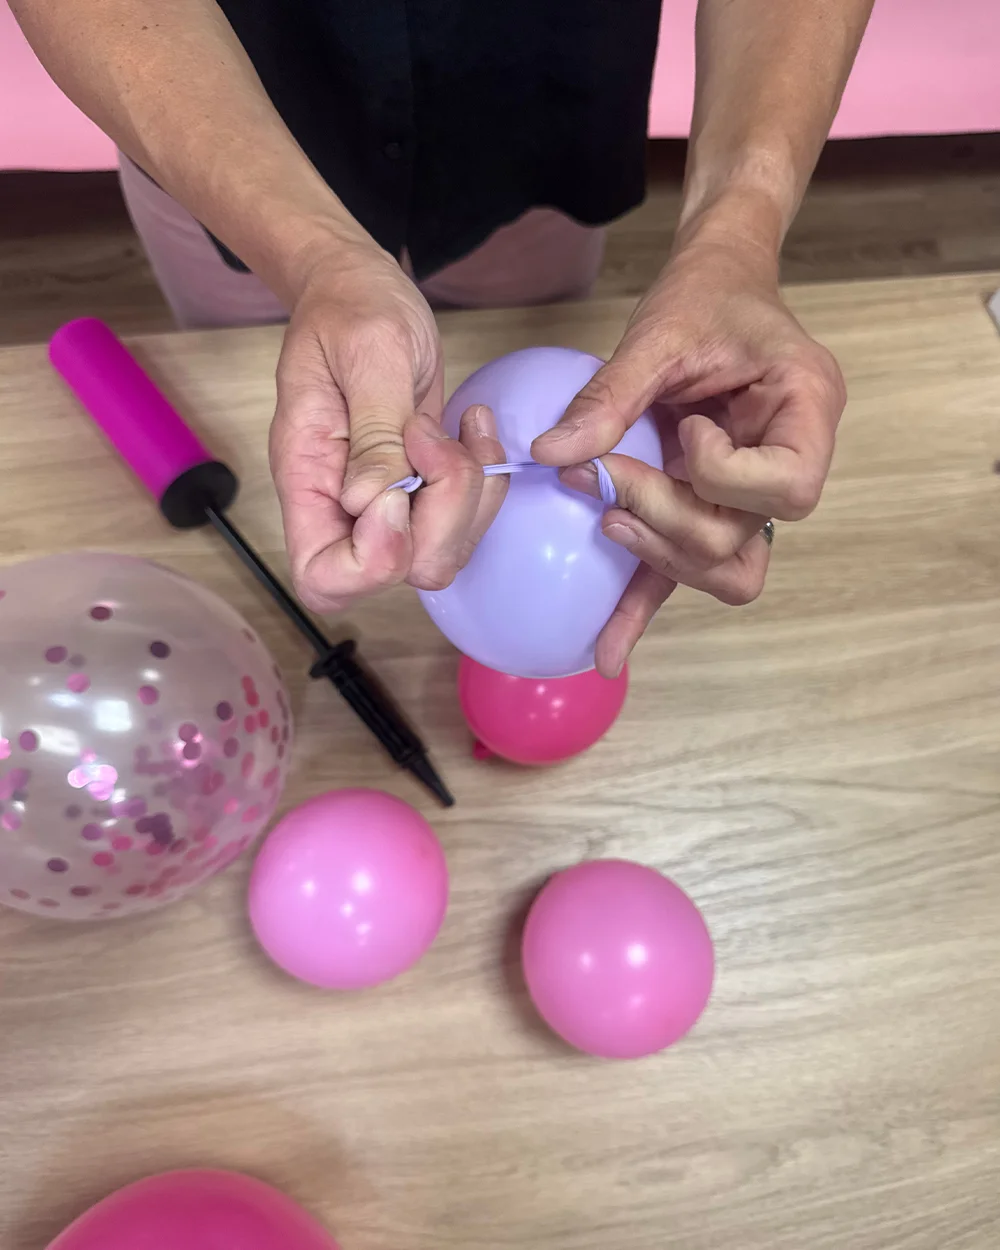
Step-by-step guide to building a balloon arch at home
Setting up your display is straightforward when you use a cardfactory balloon arch kit. Each kit comes with a flexible balloon tape strip designed to hold your balloons securely, removing the need for any complicated knotting or quad-tying. Give yourself roughly an hour to inflate and construct your design.
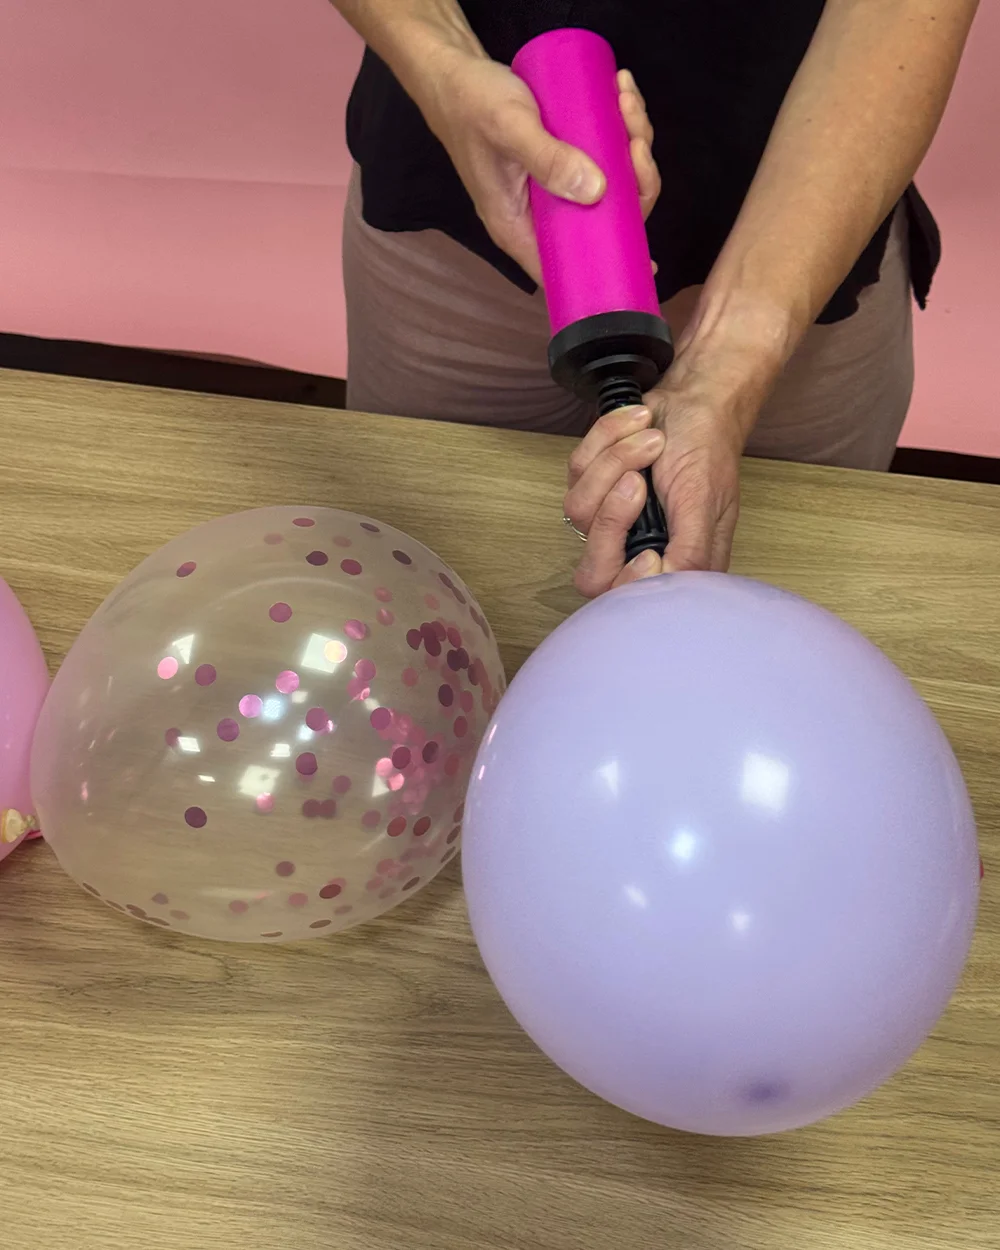
1. Inflate and size your balloons:
Use a hand or electric pump to fill your latex and confetti balloons with air. Avoid overinflating, as soft, round balloons are much easier to work with and far less likely to pop. Tie off each balloon individually at the neck.
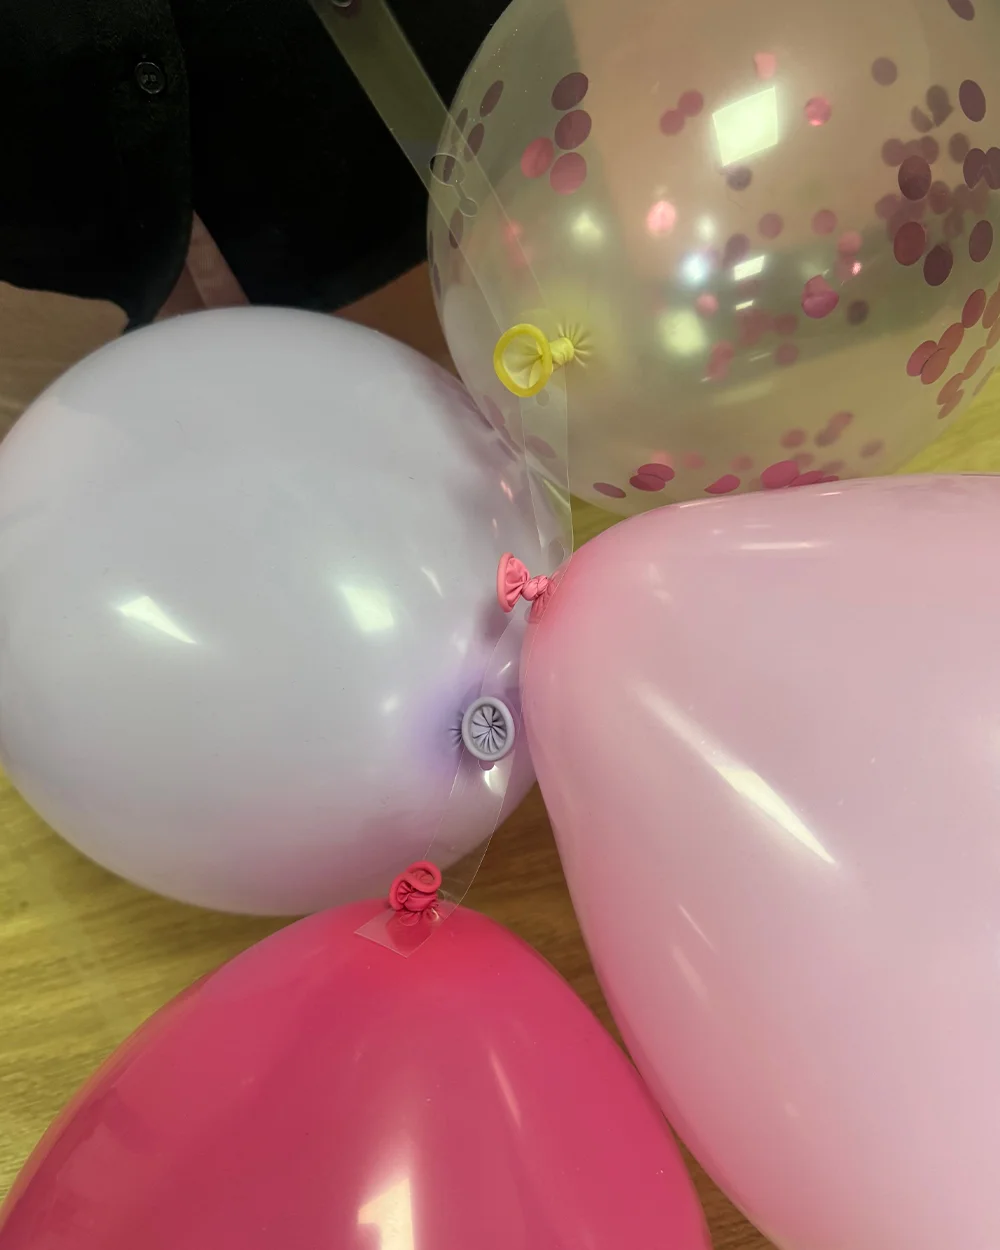
2. Attach balloons to the decorating strip:
Unroll the long balloon tape provided in your kit. Take the knotted neck of an inflated balloon and push it through a hole on the tape, sliding it into the narrow slot to lock it securely into place. Alternate different balloon sizes, colours, and confetti designs as you move along the strip to build a full, balanced look.
(TIP: If you don’t have a kit or balloon strip, simply tie your balloons together in pairs and twist them along a length of sturdy string, fishing line, or curling ribbon to create your base).
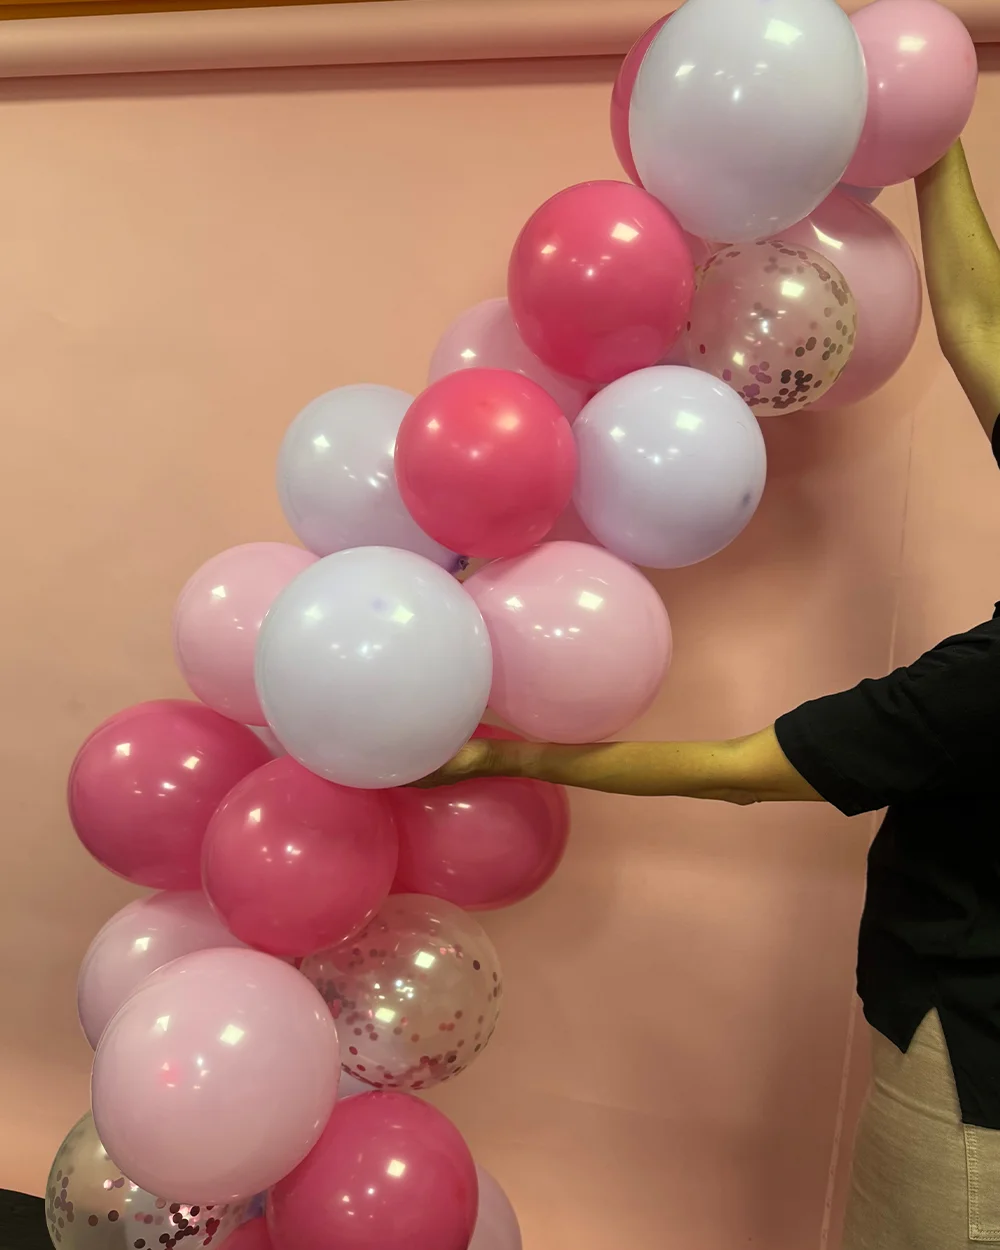
3. Shape and mount your arch:
Place two or three removable command hooks on your wall, door frame, or backdrop stand. Tie sturdy string or curling ribbon around the balloon tape at key points, then loop the string over your hooks to suspend your arch in a smooth, elegant curve.
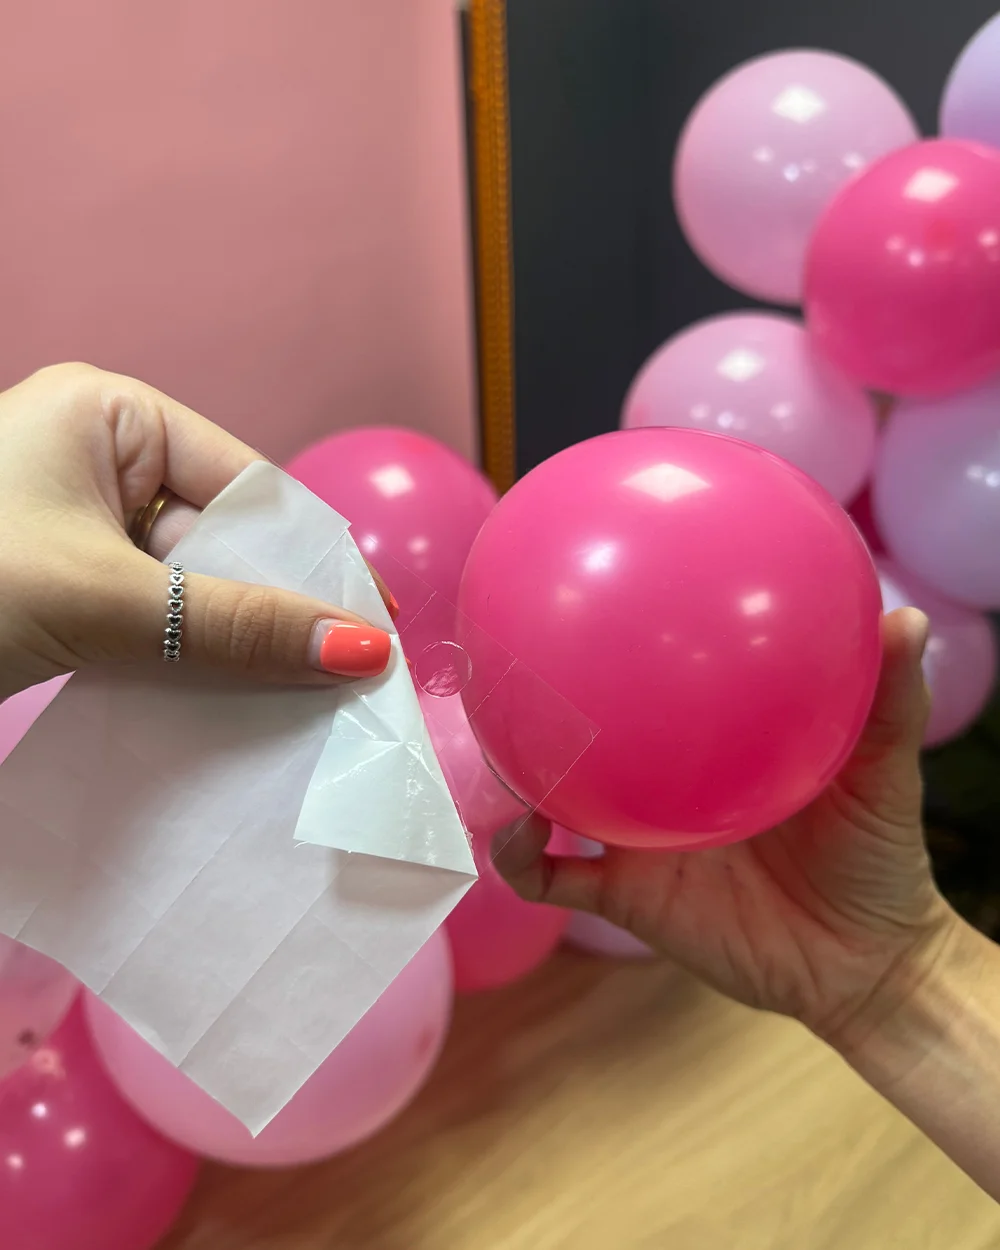
Fill the gaps: Stand back to review your display for any small gaps where the strip shows. Inflate mini 5-inch balloons, add a glue dot to the side of each one, and press them gently into open spaces. Anchor the bottom ends of your arch near the floor using decorative balloon weights.
Visual guide: watch how to build a balloon arch
Prefer to watch someone assemble an arch before you begin? We have created a helpful step-by-step video demonstration showing you how to inflate, thread, and shape your display using our kit tape strip with ease. Pause and replay the video as you work through each stage!
Creative balloon arch ideas for different party themes
You can easily adapt a balloon display to match any celebration style by picking a themed colour palette.
To make styling even easier, many cardfactory balloon arch kits already include pre-matched colours and specialty feature balloons right in the box.
Pastel baby shower arch
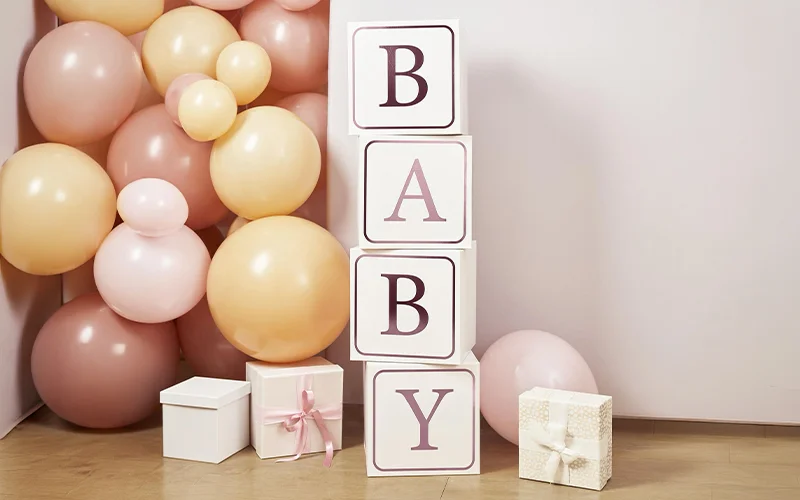
Combine soft blush pinks, pastel blues, sage greens, and warm creams for a gentle baby shower backdrop. Many of our balloon kits come with complementary accent shades ready to inflate. You can also weave artificial eucalyptus sprigs or faux floral stems into the gaps between balloons to introduce some natural texture.
Milestone birthday statement

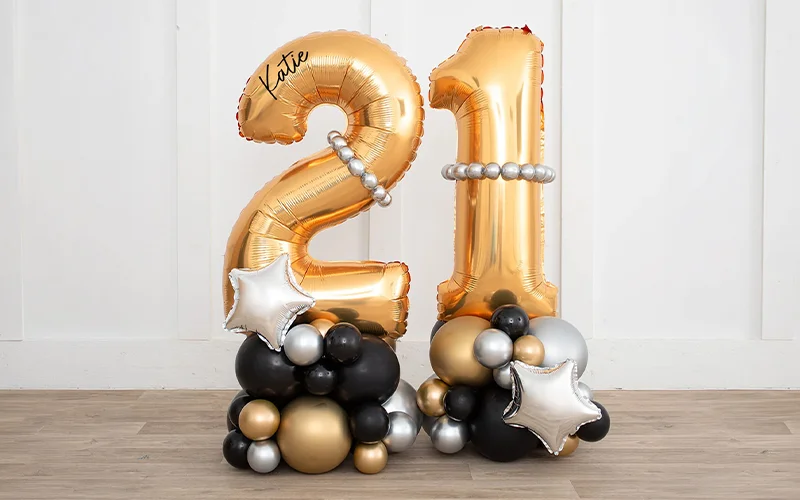
Celebrate a big birthday using striking metallic shades. Pair glossy gold, silver, or rose gold latex balloons with sleek black accents. Our kits often include metallic latex and foil accents in the pack, or you can frame your finished arch around bold foil number balloons to highlight the age being celebrated.
Playful children's party
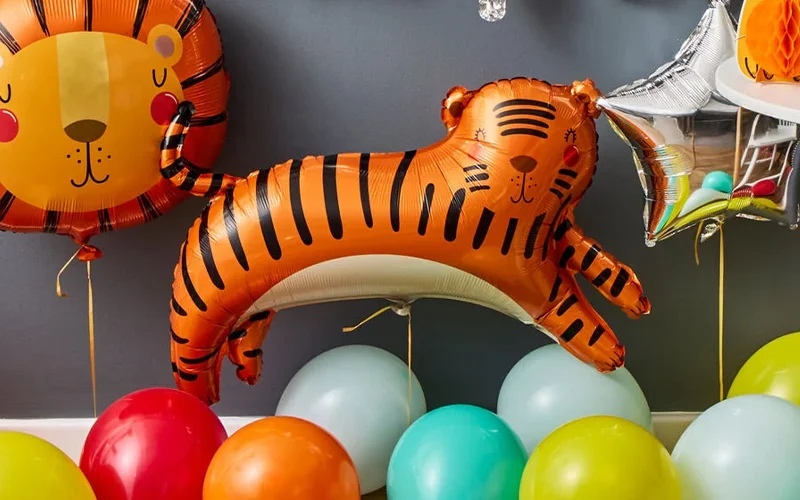
Bright, cheerful primary colours work wonders for kids' parties. Choose an all-in-one party kit that includes pre-filled confetti balloons and character foils alongside your standard latex balloons. Threading these clear confetti balloons evenly along your tape strip adds instant sparkle and fun to your display.
Top tips to make your balloon arch last longer
An air-filled balloon display can stay looking fresh and full for up to two weeks when placed in the right environment.

Pro-tip checklist for long-lasting balloons
- Assemble Early:
You can build your arch 24 hours before your event to save precious setup time on the day. - Oxidation awareness:
Sunlight and outdoor air cause shiny latex balloons to take on a soft, matte finish over time. If you host outside, set up your arch in a shaded spot right before guests arrive. - Protect from rough surfaces:
Avoid pressing balloons against textured brick walls or outdoor fences without placing a protective blanket or sheet behind them during assembly.
Keep your arch away from hot radiators, sunny windows, and outdoor heat sources, as warm air causes latex to expand and burst.
How many balloons for a balloon arch?
A standard 6ft to 8ft balloon arch requires roughly 50 to 80 balloons. Mixing 5-inch, 10-inch, and 12-inch sizes gives you plenty of coverage to hide the tape completely.
How long does a balloon arch last?
Air-filled balloon arches last between one and two weeks when kept indoors away from direct heat and sunlight. Helium-filled latex balloons, by comparison, float for around 8 to 12 hours.
How much does a balloon arch cost?
Creating a DIY balloon arch at home usually costs between £10 and £25 for balloons, tape, and a pump. Professional installations can cost £100 or more, making DIY a great budget option.
Do you need helium for a balloon arch?
No, you do not need helium. Standard air inflated with a hand or electric pump is the recommended method for balloon arches, making the display longer-lasting and far easier to style.
More on balloon & celebration ideas

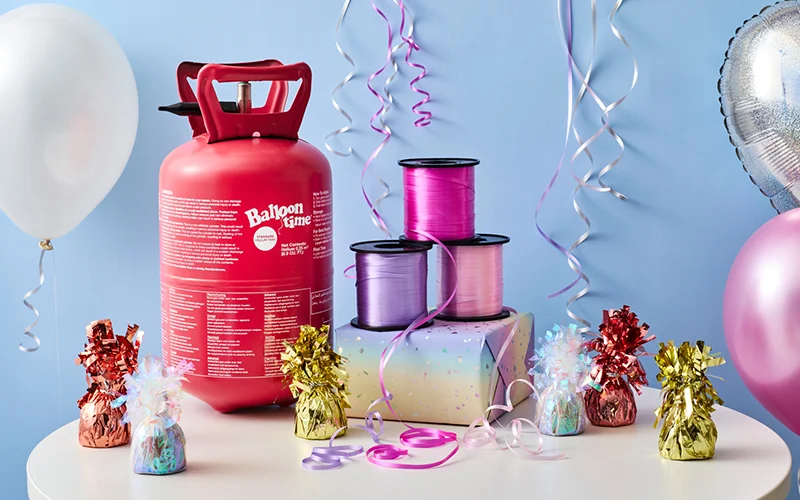
Ready to start building your own show-stopping display? Explore our complete balloons collection to choose your favourite colours, handy pumps, and decorative accessories today!
Follow Us on Social Media